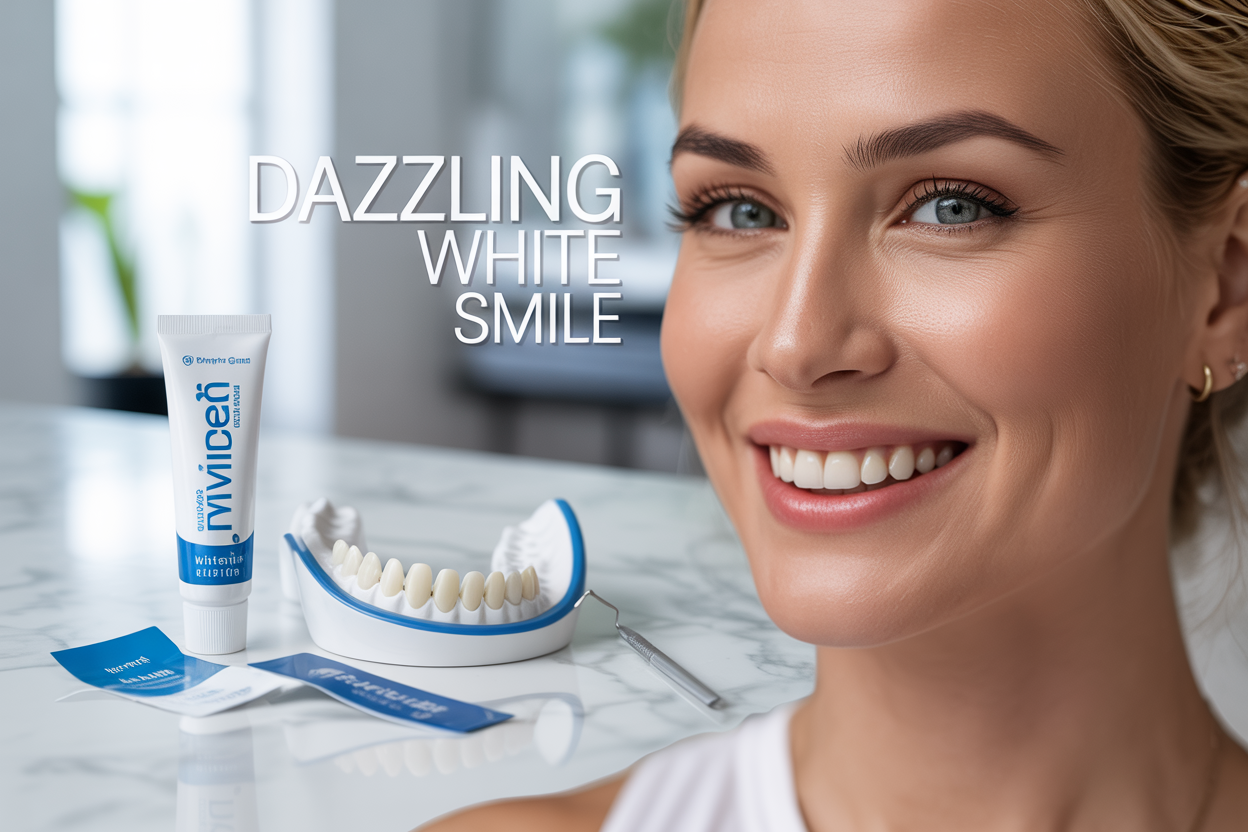
A bright white smile can boost your confidence and make a lasting impression. This teeth whitening guide is perfect for anyone dealing with stained or discolored teeth who wants to explore good teeth whitening options that actually work.
Your teeth can become discolored from coffee, wine, smoking, or simply aging. The good news? You have proven methods to restore that brilliant smile safely and effectively.
We’ll walk you through the main tooth discoloration causes so you know what you’re dealing with. Then we’ll compare professional teeth whitening versus at home teeth whitening solutions, helping you choose the best approach for your budget and timeline. Finally, you’ll learn how to maintain white teeth long-term so your investment in teeth whitening results lasts as long as possible.
Ready to discover safe teeth whitening methods that can transform your smile? Let’s dive in.
Understanding Tooth Discoloration and Its Causes

Common Foods and Drinks That Stain Your Teeth
Your daily diet plays a major role in tooth discoloration causes. Coffee lovers know this struggle all too well – that morning cup of joe gradually turns pearly whites into yellowed shadows. The culprits aren’t just obvious ones like coffee and tea. Red wine contains tannins that bind to tooth enamel, creating those stubborn purple-brown stains that seem impossible to remove.
Dark berries like blueberries, blackberries, and pomegranates pack antioxidants but also deliver intense pigments that cling to teeth. Tomato-based sauces, curry dishes, and balsamic vinegar create acidic environments that open up tooth pores, making staining even easier. Even seemingly innocent foods like cherries and grape juice can leave lasting marks on your smile.
Soda drinks double down on damage by combining dark dyes with acid that weakens enamel. Sports drinks and energy beverages often contain artificial colors that penetrate tooth surfaces. The key factor is contact time – sipping drinks slowly or swishing them around your mouth increases staining potential dramatically.
How Aging Naturally Yellows Your Smile
Time changes everything, including your teeth. The outer layer of tooth enamel naturally wears down as you age, revealing the yellowish dentin layer underneath. This process happens gradually over decades, which explains why children typically have whiter teeth than adults.
Enamel becomes thinner and more translucent with age, allowing the darker dentin to show through more prominently. The dentin itself also changes color over time, becoming more yellow or gray. This natural aging process affects everyone, regardless of how well they care for their teeth.
Microscopic cracks develop in enamel over years of use, creating tiny spaces where stains can settle deep within the tooth structure. These age-related changes make teeth appear duller and more yellow, even with excellent oral hygiene habits.
Lifestyle Habits That Damage Tooth Enamel
Smoking and tobacco use create some of the most stubborn tooth stains possible. Nicotine and tar penetrate deep into tooth enamel, causing brown and yellow discoloration that’s extremely difficult to remove with regular brushing alone. The longer someone smokes, the more embedded these stains become.
Teeth grinding, whether during sleep or from stress, wears down enamel and creates rough surfaces that trap stains more easily. Many people don’t realize they grind their teeth until significant enamel damage has occurred.
Poor oral hygiene allows plaque and tartar buildup, which creates a rough surface perfect for collecting stains. Infrequent brushing and skipping floss sessions let bacteria produce acids that weaken enamel, making teeth more susceptible to discoloration.
Aggressive brushing with hard-bristled toothbrushes can actually strip away protective enamel, creating a more porous surface that absorbs stains readily. The irony is that trying too hard to clean your teeth can make them stain more easily.
Medical Conditions Affecting Tooth Color
Certain medications cause tooth discoloration as a side effect. Tetracycline antibiotics taken during childhood can cause permanent gray or brown banding on teeth. Some antihistamines, blood pressure medications, and antipsychotic drugs also affect tooth color.
Chemotherapy and radiation treatments often change tooth color, sometimes causing a grayish tint that’s challenging to address with standard teeth whitening methods. These treatments can also affect saliva production, which normally helps wash away staining substances.
Genetic conditions like dentinogenesis imperfecta cause teeth to appear blue-gray or yellow-brown from birth. Fluorosis, caused by excessive fluoride exposure during tooth development, creates white spots or brown stains depending on severity.
Liver disease can cause teeth to take on a yellowish hue, while certain metabolic disorders affect how the body processes minerals that contribute to tooth color. Gastrointestinal issues that cause frequent acid reflux can erode enamel, making teeth more prone to staining and discoloration.
Understanding these various tooth discoloration causes helps you make informed decisions about which teeth whitening methods will work best for your specific situation.
Professional Teeth Whitening Options That Deliver Results

In-office laser whitening treatments
Professional teeth whitening at your dentist’s office delivers the most dramatic and fastest results you can get. Laser whitening treatments, also known as light-activated or power whitening, combine professional-grade bleaching agents with specialized light technology to break down years of stubborn stains in just one appointment.
The process typically starts with your dentist applying a protective barrier to your gums, then coating your teeth with a high-concentration hydrogen peroxide gel (usually 15-35%). A special LED light or laser activates the whitening gel, accelerating the chemical reaction that breaks down stain molecules. Most treatments take 60-90 minutes and can lighten teeth by 3-8 shades in a single session.
What makes laser whitening so effective is the controlled environment and powerful bleaching concentrations that aren’t available in over-the-counter products. Your dentist monitors the entire process, adjusting treatment intensity based on your sensitivity levels and desired results. Many patients see immediate results walking out of the office with noticeably whiter teeth.
The main drawbacks include higher costs (typically $500-$1,500 per treatment) and potential temporary sensitivity. However, results often last 1-2 years with proper care, making it cost-effective for many people seeking good teeth whitening results quickly.
Custom dentist-prescribed whitening trays
Custom whitening trays offer a perfect middle ground between professional results and at-home convenience. Your dentist creates precise impressions of your teeth to fabricate perfectly fitted trays that ensure even gel distribution and maximum contact with tooth surfaces.
The process begins with taking detailed molds of your upper and lower teeth. Within a week or two, you receive custom trays along with professional-grade whitening gel (typically 10-22% carbamide peroxide or hydrogen peroxide). These concentrations are stronger than drugstore options but gentler than in-office treatments.
You wear the trays for specified periods – usually 2-4 hours daily or overnight for 1-2 weeks. The custom fit prevents gel leakage, reduces gum irritation, and ensures consistent results across all visible teeth. Many patients prefer this method because they control the treatment schedule and can touch up their smile as needed.
Professional teeth whitening through custom trays typically costs $300-$800 and delivers results comparable to in-office treatments, though over a longer timeframe. The trays last for years, so you only need to purchase additional gel for maintenance treatments.
Professional-grade whitening gels and their effectiveness
The secret behind effective teeth whitening methods lies in the concentration and quality of the active ingredients. Professional-grade whitening gels contain significantly higher percentages of hydrogen peroxide or carbamide peroxide compared to store-bought alternatives.
Hydrogen peroxide works faster and penetrates deeper into tooth enamel, while carbamide peroxide breaks down more slowly, providing gentler but longer-lasting action. Professional gels range from 10-35% concentration, compared to 3-10% in over-the-counter products.
| Gel Type | Concentration | Treatment Time | Results |
|---|---|---|---|
| Professional Hydrogen Peroxide | 15-35% | 15-60 minutes | 3-8 shades lighter |
| Professional Carbamide Peroxide | 10-22% | 2-8 hours | 2-6 shades lighter |
| Over-the-counter | 3-10% | Days to weeks | 1-3 shades lighter |
Professional gels also contain desensitizing agents, stabilizers, and pH balancers that minimize tooth sensitivity while maximizing whitening effectiveness. The controlled formulation ensures consistent results and reduces the risk of enamel damage or uneven whitening.
Dentist-dispensed gels work faster because they’re formulated for specific treatment protocols and monitored application. They’re particularly effective on yellow-based stains caused by coffee, wine, or aging, though gray stains from medications may require additional treatments or alternative approaches.
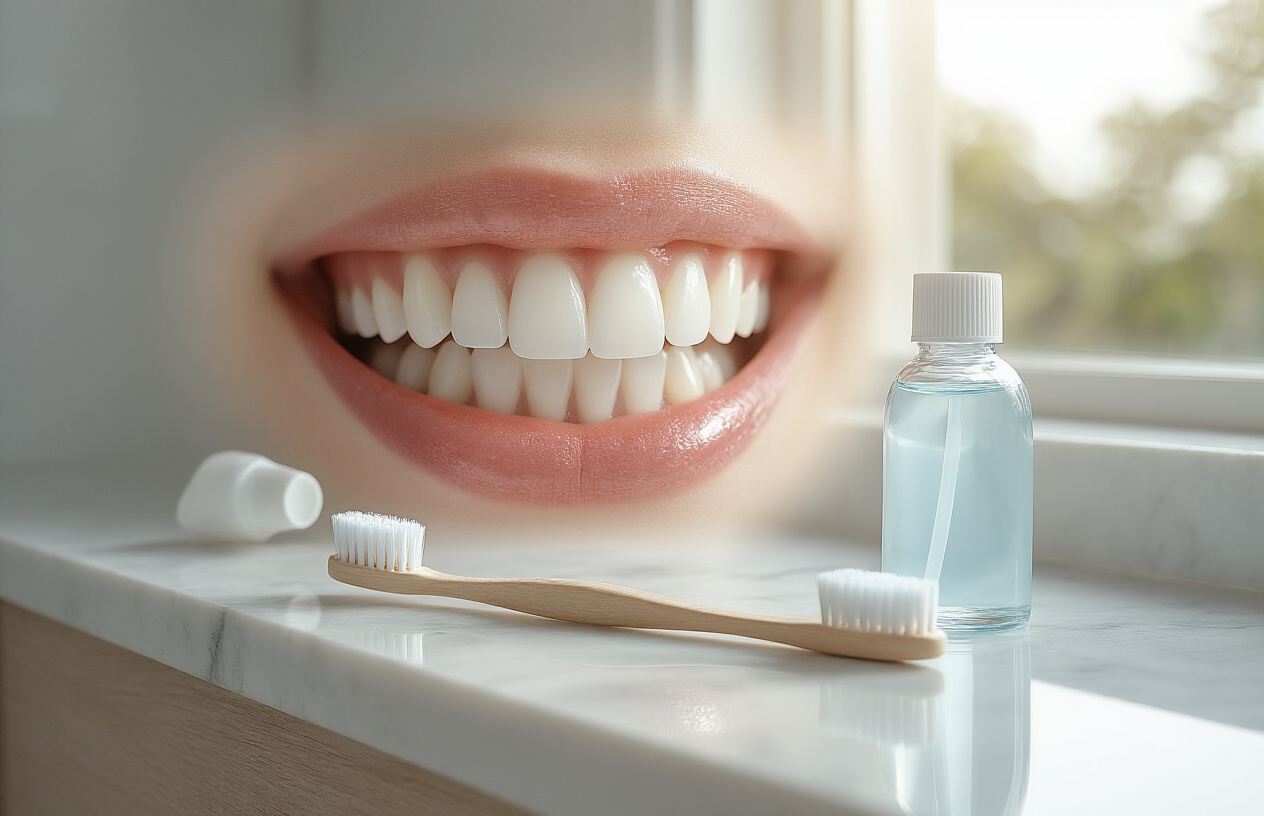
At-Home Whitening Solutions for Every Budget

Over-the-counter whitening strips and their limitations
Whitening strips rank among the most popular at home teeth whitening options, offering convenience and decent results without the professional price tag. These thin, flexible strips contain peroxide-based bleaching gel and adhere directly to your teeth for 15-30 minutes per treatment.
The main appeal lies in their simplicity – you just peel, stick, and go about your day. Most strips deliver noticeable results within a week, with full effects appearing after 2-3 weeks of consistent use. However, strips come with significant drawbacks that many users discover too late.
Coverage remains the biggest issue. Strips work well on front teeth but struggle to reach molars and the curves between teeth, creating uneven whitening patterns. If you have crowded or crooked teeth, strips may not make proper contact with all surfaces, leaving behind darker spots that look patchy.
Sensitivity poses another common problem. The peroxide concentration in strips can irritate gums and tooth enamel, especially if you leave them on longer than recommended. Some people experience sharp shooting pains during treatment that can last for hours afterward.
Quality varies dramatically between brands. Budget options often contain lower concentrations of active ingredients, producing minimal results, while premium strips may work too aggressively for sensitive teeth. Reading reviews and choosing reputable brands helps avoid disappointing outcomes.
Whitening toothpastes and mouthwashes that work
Whitening toothpastes offer the gentlest entry point into at home teeth whitening, working gradually through daily use rather than dramatic overnight changes. Unlike strips or gels, these products integrate seamlessly into your existing routine without adding extra steps.
The most effective whitening toothpastes combine mild abrasives with chemical whitening agents. Look for products containing hydrogen peroxide or carbamide peroxide, which actually break down stains rather than just polishing them away. Brands like Crest 3D White and Colgate Optic White have earned solid reputations for delivering measurable results.
Expect realistic outcomes – toothpastes typically lighten teeth by 1-2 shades over 2-3 months of regular use. They excel at preventing new stains from coffee, tea, and wine while gradually removing surface discoloration. However, they won’t tackle deep, intrinsic stains that have penetrated tooth enamel.
Whitening mouthwashes work similarly but offer better coverage since they swish around all tooth surfaces. Use them twice daily after brushing for maximum benefit. Some formulations include fluoride for cavity protection alongside whitening ingredients, making them practical for overall oral health.
The key advantage of these products is their safety profile. Daily use rarely causes sensitivity issues, making them suitable for people with delicate teeth who can’t tolerate stronger treatments.
DIY whitening remedies using natural ingredients
Natural whitening methods appeal to people seeking chemical-free alternatives, though results vary widely and some popular remedies can actually damage teeth. Baking soda stands as the most reliable DIY option, offering genuine whitening power through gentle abrasive action.
Create an effective paste by mixing baking soda with water until it reaches toothpaste consistency. Brush gently for two minutes, focusing on stained areas, then rinse thoroughly. Limit this treatment to 2-3 times per week since daily use can erode enamel over time.
Oil pulling with coconut oil has gained popularity, though scientific evidence remains limited. Swish a tablespoon of coconut oil in your mouth for 10-20 minutes, then spit it out and brush normally. Some users report whiter teeth after several weeks, possibly due to reduced bacteria and plaque buildup.
Strawberries contain malic acid, which can help remove surface stains. Mash fresh strawberries and brush the mixture on your teeth for a few minutes before rinsing and brushing with regular toothpaste. The natural sugars require immediate removal to prevent cavity formation.
Avoid potentially harmful remedies like lemon juice, apple cider vinegar, or activated charcoal. The acid in citrus fruits weakens enamel, while charcoal’s abrasive properties can permanently damage tooth surfaces despite social media claims about its effectiveness.
LED whitening kits for convenient home treatment
LED whitening kits bridge the gap between professional treatments and basic at-home options, using light technology to accelerate the whitening process. These kits typically include custom-fit trays, professional-strength whitening gel, and an LED device that activates the bleaching agents.
The science behind LED acceleration shows promise, though results vary between individuals. Light energy helps break down peroxide molecules more efficiently, potentially reducing treatment time from hours to 15-20 minutes per session. Many users achieve results comparable to professional treatments at a fraction of the cost.
Quality LED kits include mouth trays that mold to your teeth for better gel distribution and contact. Look for kits with multiple gel syringes and various strength options to customize treatment intensity. Brands like AuraGlow and Snow have built strong followings through consistent results and good customer support.
Expect to pay $50-200 for a quality LED kit, with higher-priced options typically including more gel refills and stronger light devices. Most kits provide enough supplies for multiple whitening cycles, making them cost-effective for long-term maintenance.
Safety considerations include following timing guidelines strictly and discontinuing use if severe sensitivity develops. The concentrated gels in these kits can cause significant discomfort if overused or left on too long.
Whitening pens for touch-ups on the go
Whitening pens offer targeted spot treatment and convenient maintenance between major whitening sessions. These portable applicators contain peroxide gel that you paint directly onto teeth, making them perfect for addressing specific stains or touching up results from other treatments.
The precision application allows you to focus on problem areas like coffee stains on front teeth or discoloration along the gum line. Simply twist the pen to dispense gel, paint it onto clean, dry teeth, and avoid eating or drinking for 30 minutes while the formula works.
Pens work best for surface stains and maintenance rather than dramatic whitening. They’re particularly useful for people who drink staining beverages throughout the day or want to maintain results from professional treatments. Keep one in your desk drawer or purse for quick touch-ups after lunch meetings or coffee dates.
Results from whitening pens develop gradually with consistent use. Most people notice subtle improvements within a week, with continued enhancement over several weeks of regular application. The convenience factor makes them excellent for travel or busy lifestyles where traditional whitening methods prove impractical.
Choose pens with comfortable grip designs and precise applicator tips for easy use. Some formulations include desensitizing agents to minimize discomfort, while others focus on maximum whitening power for faster results.
Maximizing Your Whitening Results Safely

Pre-whitening dental checkup essentials
Before starting any teeth whitening journey, booking a dental checkup is your smartest move. Your dentist needs to examine your teeth and gums to determine if you’re a good candidate for whitening treatments. This professional assessment can save you from potential complications and disappointing results.
During your pre-whitening appointment, your dentist will check for cavities, gum disease, worn enamel, or existing dental work like crowns and fillings. These factors directly impact how to whiten teeth effectively. Cavities must be treated first because whitening agents can penetrate through tooth decay, causing severe pain and sensitivity. Gum disease also needs addressing since inflamed gums react poorly to bleaching chemicals.
Your dentist will also evaluate your tooth discoloration type. Surface stains from coffee, wine, or smoking respond beautifully to most teeth whitening methods. Deep intrinsic stains from medications like tetracycline or fluorosis require different approaches and realistic expectations. Some discoloration simply won’t budge with traditional whitening, and your dentist can recommend alternative cosmetic solutions.
Existing dental work presents another consideration. Crowns, veneers, and fillings don’t whiten alongside natural teeth, potentially creating color mismatches. Your dentist might suggest replacing these restorations after whitening to achieve uniform results.
The checkup also includes a thorough cleaning to remove plaque and tartar buildup. Clean teeth absorb whitening agents more effectively, leading to better results. Your hygienist will polish away surface stains, giving you a preview of your whitening potential.
Managing tooth sensitivity during treatment
Tooth sensitivity ranks as the most common side effect of whitening treatments, but proper management keeps discomfort minimal. Understanding why sensitivity occurs helps you prepare and respond appropriately.
Whitening agents temporarily open your tooth’s pores, allowing bleaching chemicals to reach stains. This process also exposes nerve endings, creating that zingy sensation many people experience. The good news? This sensitivity is temporary and manageable with the right strategies.
Before Starting Treatment:
- Switch to a desensitizing toothpaste two weeks before whitening
- Avoid acidic foods and drinks that can increase sensitivity
- Use fluoride mouthwash to strengthen tooth enamel
- Take an over-the-counter pain reliever 30 minutes before treatment
During Treatment:
- Follow timing instructions precisely – longer isn’t better
- Use whitening products every other day instead of daily if sensitivity develops
- Apply a thin layer of petroleum jelly to your gums to prevent irritation
- Keep treatments shorter initially, gradually increasing duration as tolerance builds
Post-Treatment Care:
- Continue using desensitizing toothpaste
- Avoid hot and cold foods for 24-48 hours after treatment
- Rinse with lukewarm water instead of cold
- Apply fluoride gel if sensitivity persists
Professional teeth whitening typically causes less sensitivity than at home teeth whitening because dentists can adjust concentration levels and provide protective barriers for your gums. They might also apply desensitizing agents before and after treatment.
If sensitivity becomes unbearable, stop treatment immediately and contact your dentist. Some people have naturally sensitive teeth that don’t tolerate whitening well, and your dental professional can suggest gentler alternatives.
Timeline expectations for visible improvements
Managing expectations about teeth whitening results prevents disappointment and helps you stay committed to the process. Different whitening methods produce results at varying speeds, and individual factors influence your timeline.
Professional In-Office Whitening:
Results appear immediately, with teeth typically lightening 3-8 shades in a single 60-90 minute session. You’ll walk out with noticeably whiter teeth, though final results develop over the next 24-48 hours as your teeth rehydrate. Some patients need a second session for optimal results, scheduled 1-2 weeks apart.
Professional Take-Home Trays:
Custom trays from your dentist produce gradual improvements over 1-2 weeks. You’ll notice subtle changes after 2-3 applications, with significant whitening visible by day 7-10. Complete results typically emerge after 14 days of consistent use.
Over-the-Counter Whitening Strips:
These popular at home teeth whitening options show initial results within 3-5 days of daily use. Full results develop over 2-3 weeks, typically lightening teeth 2-4 shades. Results vary significantly based on product strength and individual response.
Whitening Toothpaste:
The gentlest option for good teeth whitening maintenance, results appear gradually over 2-6 weeks of daily use. Whitening toothpastes primarily remove surface stains rather than changing your tooth’s natural color, providing 1-2 shades of improvement.
Factors Affecting Your Timeline:
- Starting tooth color (yellow teeth whiten faster than gray teeth)
- Age (younger teeth typically respond quicker)
- Lifestyle habits (smoking and staining foods slow progress)
- Consistency with treatment schedule
- Type and concentration of whitening agent
Remember that initial dramatic improvements often slow down as treatment progresses. Your teeth may lighten quickly in the first week, then plateau. This is normal – you’re approaching your teeth’s maximum whitening potential.
Take progress photos in consistent lighting to track your improvement objectively. Many people underestimate their results because they see their teeth daily. Side-by-side comparison photos reveal the true transformation.
Some people see results faster than others due to genetic factors and enamel thickness. Patience pays off, as rushing the process with more frequent applications or stronger products often leads to increased sensitivity without better results.
Maintaining Your Bright White Smile Long-Term

Foods to Avoid After Whitening Treatment
Your teeth are most vulnerable to staining during the first 48-72 hours after any teeth whitening treatment. During this critical window, your tooth enamel remains porous and highly susceptible to absorbing pigments from foods and beverages.
Dark-colored beverages top the list of items to avoid. Coffee, red wine, tea, and dark sodas can quickly undo your whitening results. If you absolutely can’t give up your morning coffee, drink it through a straw and rinse your mouth with water immediately afterward.
Acidic foods and drinks pose a double threat. Citrus fruits, tomatoes, berries, and sports drinks not only contain staining compounds but also soften your enamel, making it easier for stains to penetrate. Wait at least 24 hours before consuming these items.
Highly pigmented foods like curry, soy sauce, balsamic vinegar, and dark chocolate should also be avoided initially. Even seemingly innocent items like blueberries and pomegranates can cause immediate staining on freshly whitened teeth.
Tobacco products are absolutely off-limits if you want to maintain white teeth. The tar and nicotine in cigarettes and other tobacco products cause some of the most stubborn stains that professional teeth whitening can address.
Daily Oral Hygiene Habits That Preserve Whiteness
Consistent daily care is the foundation of maintaining white teeth long-term. Brushing twice daily with a whitening toothpaste helps remove surface stains before they set in. Look for toothpastes with the American Dental Association (ADA) seal that contain gentle abrasives or hydrogen peroxide.
Flossing daily removes plaque and food particles between teeth where stains can develop. Many people overlook this step, but neglecting to floss can lead to yellowing between teeth that’s particularly noticeable when you smile.
Using an antimicrobial mouthwash helps maintain oral health while some formulations offer additional whitening benefits. Rinse for the full recommended time to maximize effectiveness.
Water becomes your best friend in maintaining white teeth. Drinking water throughout the day helps wash away food particles and neutralizes acids that can cause staining. After consuming staining substances, swish water around your mouth to minimize contact time with your teeth.
Electric toothbrushes often provide superior plaque removal compared to manual brushing. The consistent motion helps remove more surface stains and maintains better overall oral hygiene.
Regular Touch-Up Treatments for Lasting Results
Professional teeth whitening results typically last 6-12 months, depending on your lifestyle and diet. Planning regular touch-up treatments helps maintain your bright smile without starting from scratch each time.
At-home whitening kits prescribed by your dentist offer convenient touch-up options. These custom-fitted trays with professional-grade gel provide controlled whitening between office visits. Most people need touch-ups every 3-6 months.
Whitening toothpaste can extend results between professional treatments. While these products can’t dramatically whiten teeth, they help maintain your current shade by removing new surface stains.
Over-the-counter whitening strips provide another maintenance option, though they’re less effective than professional treatments. Use them sparingly and follow package directions to avoid sensitivity.
Professional touch-up appointments typically require less time and lower concentrations of whitening agents compared to initial treatments. Your dentist can customize the frequency based on your individual needs and staining patterns.
Professional Maintenance Schedules With Your Dentist
Working with your dentist to establish a maintenance schedule ensures safe and effective long-term results. Most dental professionals recommend professional cleaning every six months, which removes plaque buildup that can cause yellowing.
Your dentist can monitor your teeth for sensitivity or enamel changes that might affect your whitening routine. Some patients need longer intervals between treatments to allow their enamel to recover.
Professional assessments help determine when touch-up treatments are needed. Your dentist can evaluate your current shade and recommend the most appropriate whitening method based on any changes in your oral health.
Annual evaluations of your whitening results help track how well your maintenance routine is working. Your dentist might suggest adjustments to your home care routine or recommend different products based on your progress.
Creating a personalized maintenance plan with your dental team ensures you get the most from your teeth whitening investment while protecting your oral health for years to come.
A bright, white smile doesn’t have to remain out of reach. From understanding what causes tooth discoloration to exploring professional treatments and budget-friendly at-home options, you now have the knowledge to make informed decisions about whitening your teeth. The key is choosing the method that fits your lifestyle, budget, and desired timeline while always prioritizing safety over speed.
Remember that achieving and keeping a dazzling smile is a marathon, not a sprint. Once you’ve reached your whitening goals, maintaining those results comes down to simple daily habits and being mindful of stain-causing foods and drinks. Start with small changes today – your future self will thank you every time you catch your reflection and can’t help but smile back.